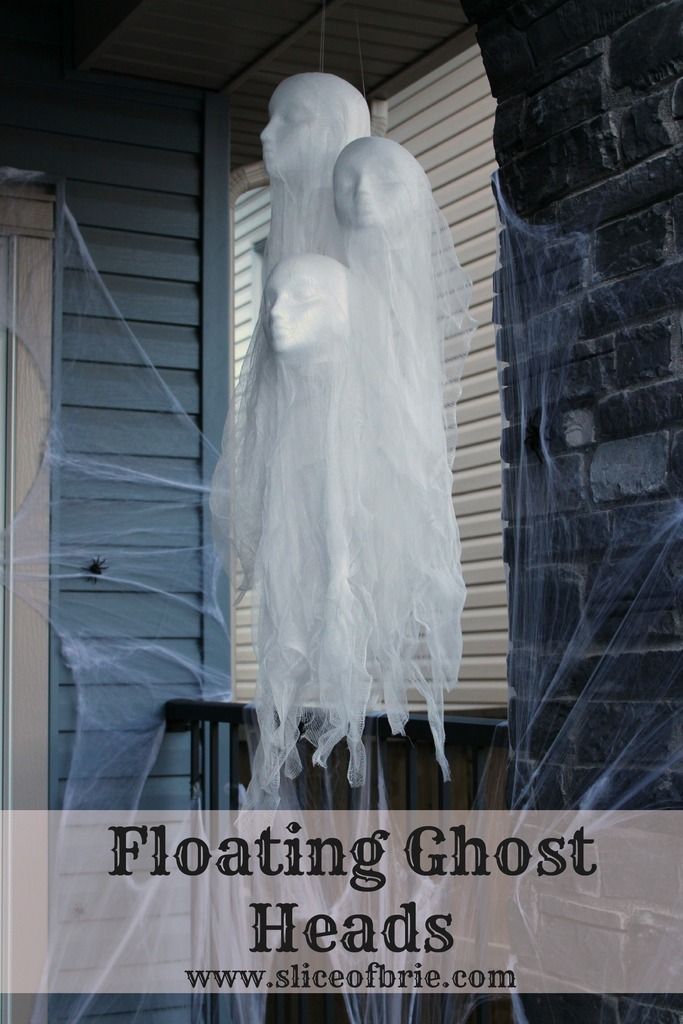
Floating Ghost Heads
All you need:
-Styrofoam mannequin heads
-3 yards of cheesecloth per head
-mod podge
-paint brush
-E-Z Ancors #8
-screwdriver
-monofilament line/fishing line
I bought my Styrofoam heads for four dollars a piece at Value Village. I'm kicking myself because I did see them at the dollar store at the beginning of October, but I didn't have this project in mind then. The cheese cloth I bought at the dollar store, the monofilament line we already had in the garage, along with the E-Z Anchors. Mod podge can be found at Walmart or any craft store. You don't need a fancy paint brush, the one I used was a cheap one from the dollar store. The tutorial I had originally found on this says to use E6000 glue to glue in eyelet screws to the heads, but learn from my mistake here: E6000 glue cannot be used on Styrofoam as it literally eats away at it leaving a big hole. Luckily I had only used this glue on one of the heads before realizing my error.
To make the heads look even creepier, I cut off the necks. A sharp knife (not a serrated edged one) will get the job done in minutes with no mess. You do not need a special tool to do this.

Then, take your long piece of cheesecloth (all cheesecloth I've bought comes in a package of 3 yards), and cut it in half. Drape one piece over the Styrofoam head and then apply mod podge to the face area. This will help the facial features pop and the overall effect will be much creepier. It will also keep your cheesecloth in place. I applied the first layer to all three heads and then went back and applied the second layer, adding a bit more mod podge to make sure the second piece was secure. You don't need to let the mod podge dry in-between layers. The mod podge will dry clear.

Afterwards, take a long piece of monofilament line and knot it around the E-Z Ancor (make sure you use a good knot, one that won't accidentally unravel as you don't want your line to slip out - I used a bowline knot). I used anchor size #8 because that is what we had in the garage, but also because it had a large enough thread. Then take your screwdriver and screw the anchor into the middle of the top of the head. It will go in easy (make sure you screw it in and not push it in). The threading on the anchor will ensure it stays in place. So much easier than trying to glue an eyelet screw into the Styrofoam! This way you won't have to worry that your glue won't hold, and I really liked that it makes the anchor part invisible.
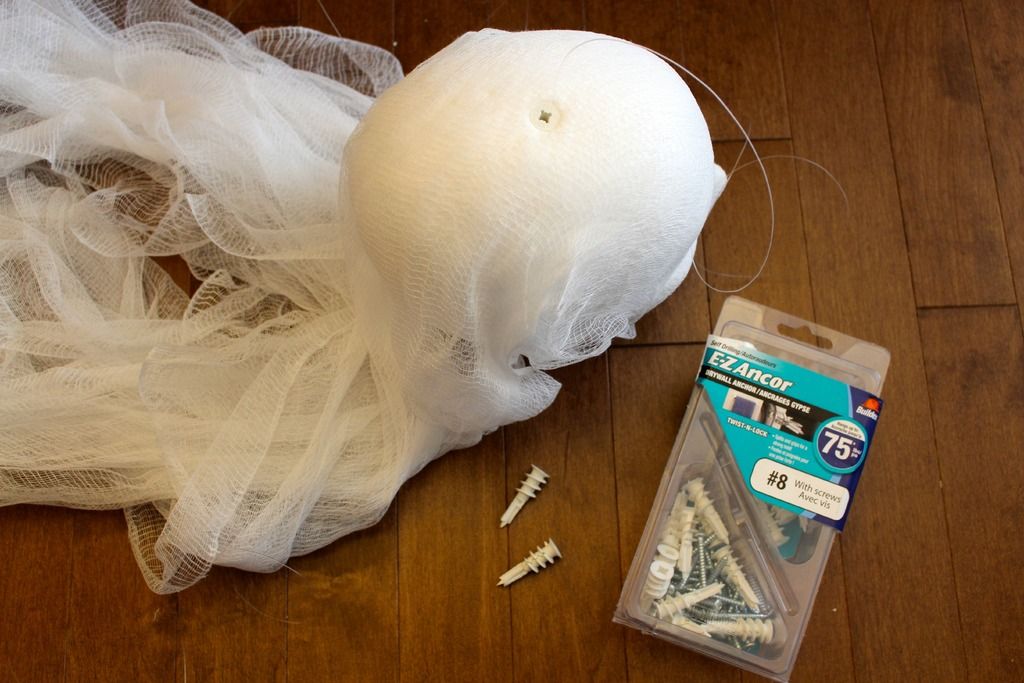

All that's left is to hang your ghosts wherever you wish! Super easy and I'm positive I will be making more next Halloween!

Mini Cheesecloth Ghosts
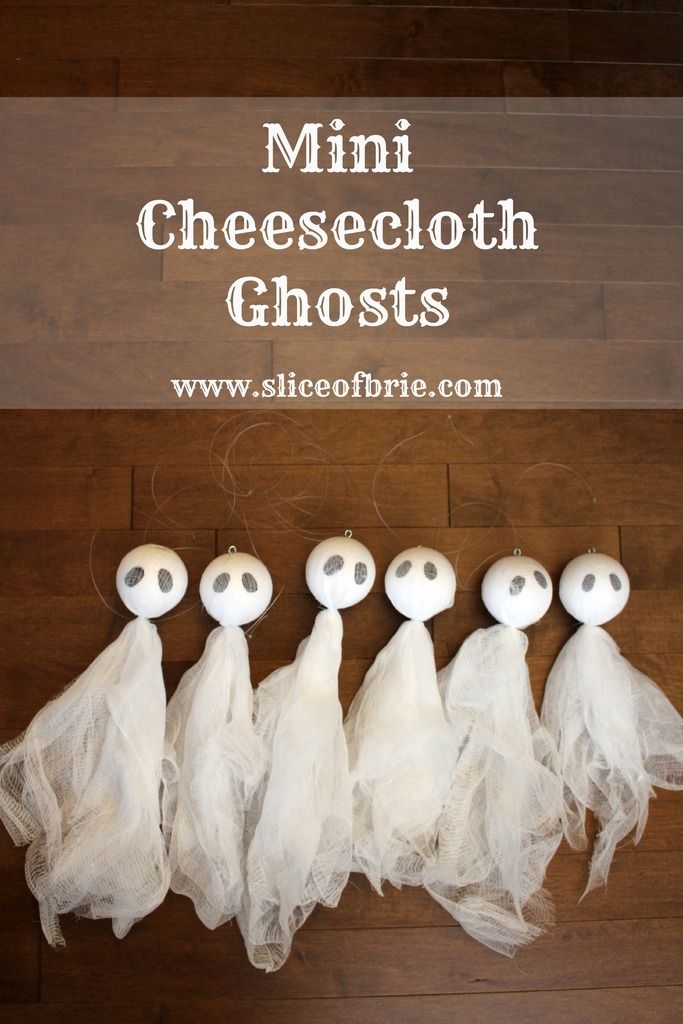
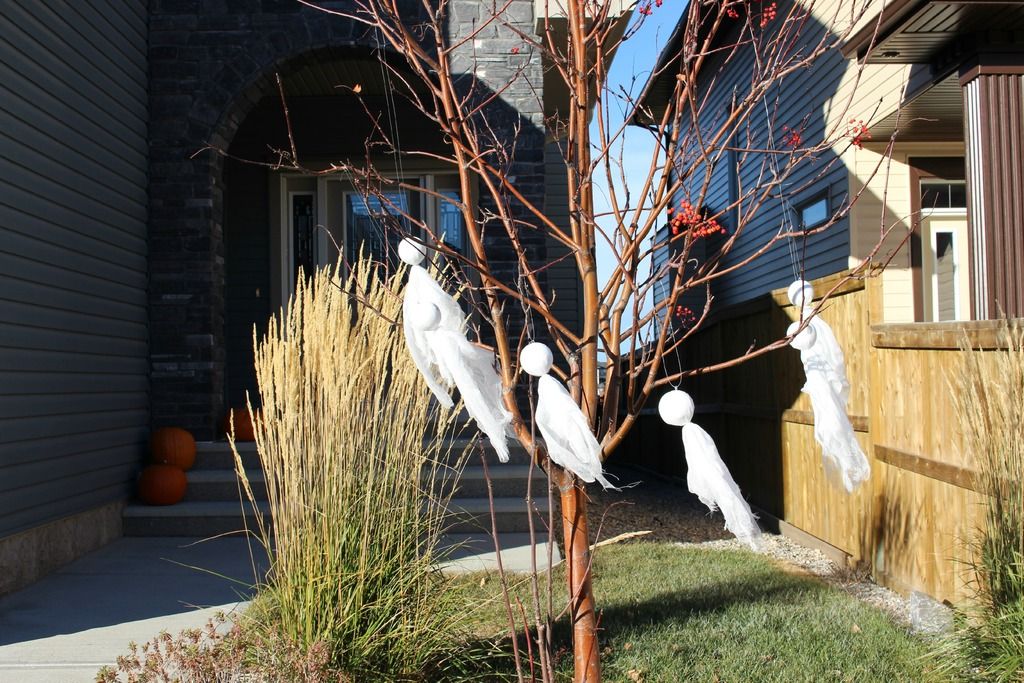
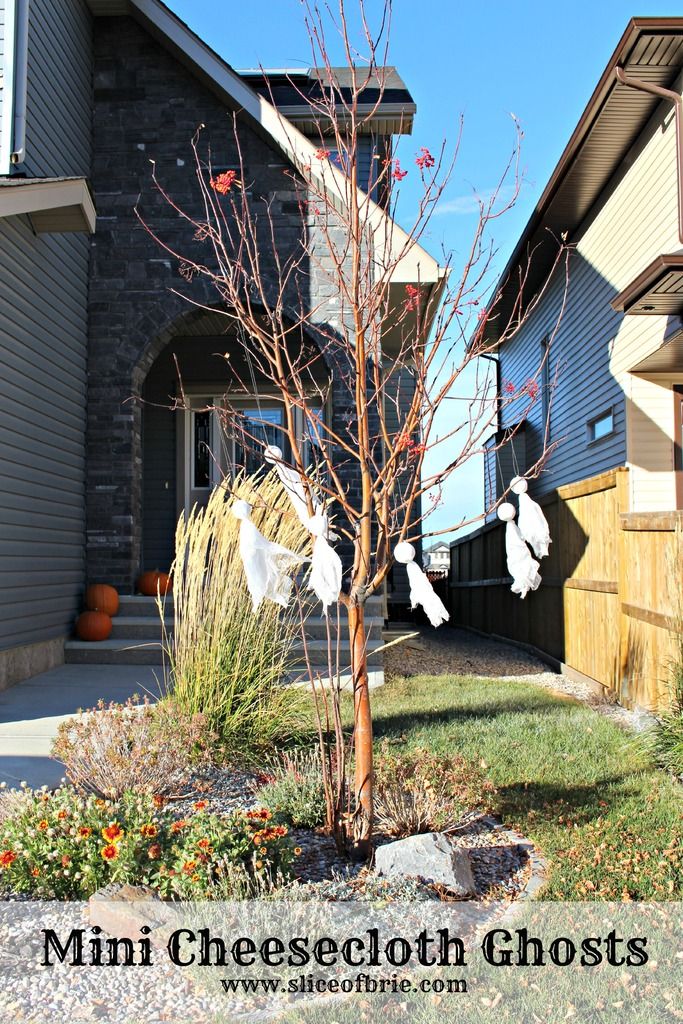
Along with my floating ghosts, I also wanted to make smaller ghosts for our tree in the front yard. These little guys were even easier to make and I think they are pretty darn cute.
All you need:
-Small Styrofoam balls
-cheesecloth
-white thread
-sharpie
-eyelet hooks
-monofilament line/fishing line
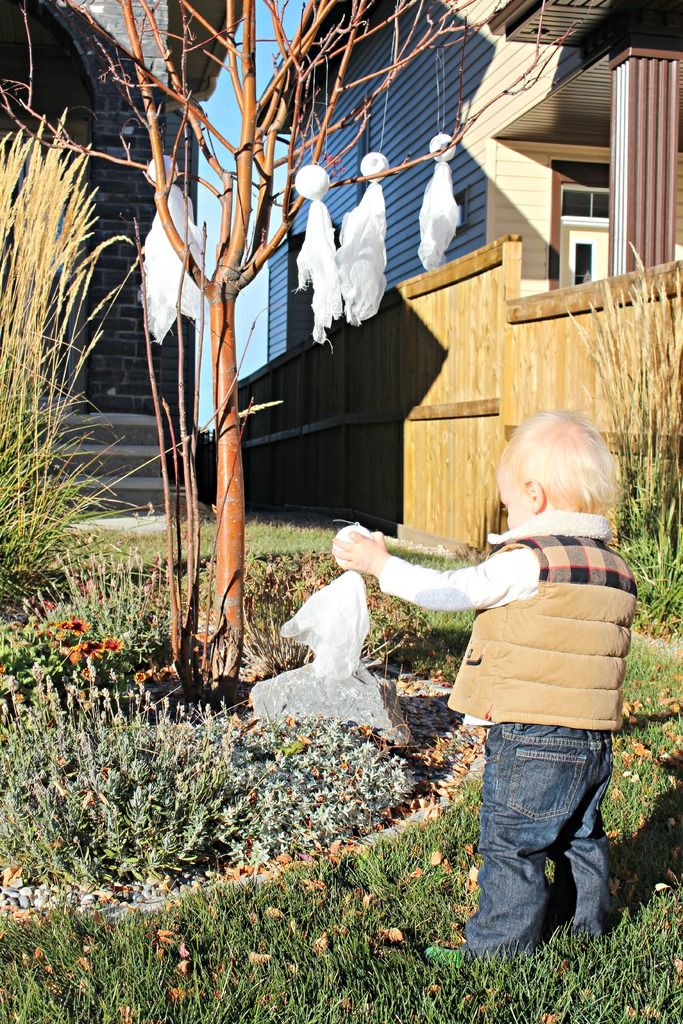
For these ghosts, I decided to draw eyes on them just using a black sharpie. Then I cut a big piece of cheesecloth into smaller squares. I didn't measure, you can easily eyeball it, but I did choose to double up the layers. I used white thread to secure the cloth underneath the Styrofoam ball. I attached the eyelet screws into the tops of the ghost heads with mod podge which actually holds well. You could also use the E-Z anchors as I did above, but they are a bit pricey so I only did one mini ghost with an anchor. Either seem to hold up well as the mini ghosts are super light. Attach some fishing line and hang your ghosts where you like! Incredibly easy, and I really like the way the cheesecloth blows in the wind. Sully got a big kick out of helping me hang these "ghoosts" on the tree!
Happy Halloween!

No comments:
Post a Comment